How To Build the World’s Greatest Box Fort
Furniture delivery day — it’s like Christmas. Only better, because there’s no way Santa and his reindeer could fit a 300lb sofa box in his sleigh.
Speaking of that box, once your freshly delivered furniture is unpacked, assembled, and of course thoroughly nap-tested, there’s still the matter of dealing with the packaging it came in. Depending on your order, chances are you’re looking at a fair amount of heavy-duty cardboard pieces. Pieces that were once carefully selected to ensure your furniture arrived to your door safely, but are now taking up precious space in your home.
Luckily, there’s plenty of things you can do to repurpose that packaging to keep the fun of delivery day going. One popular option is the box fort.
Not a cardboard engineer or toy designer? No problem. Thanks to the power of the Internet, we found a couple of Article customers through Instagram who have done the heavy lifting for you.
Important: Before you start custom building cardboard real estate, you should be sure that you love the furniture your boxes once held. If you decide that your new furniture isn’t for you you’ll need the original packaging to take advantage of our 30 day satisfaction guarantee.

Photographer Emmy Lou and animator Jorge Canedo captured the magic of transforming one of their Article boxes into a place to play for their son Matthias. We were thoroughly impressed and got in touch to find out if they’d make another one, documenting the process to help bring out everyone’s inner child. Lucky for us, they said yes.
Once planning for the second box fort was complete, construction took about an hour. Which, with a three-year-old in the mix, included many distractions and pauses for playtime.
See how the whole thing unfolded in the video below, then read on for step-by-step instructions to turn your sofa box into a fort from Jorge, head of construction.
Step-by-step: Building a furniture box fort
1. Analyze your box

Note the box dimensions and ensure that no matter how tall you make it, that your kids (or whoever the box is for, no judgment) can safely enter without head bumps.
2. Cut out all necessary pieces
![]()
Before starting to tape everything together, make sure you have a few key pieces cut and laid out. Jorge says the floor, a piece for the roof, four pieces for the chimney, and some triangular pieces for window ledges (optional) are most important.
If you’d like to get power tools involved, Jorge recommends a reciprocating saw to keep the cuts crisp without damaging or bending the cardboard. But a serrated knife works in a pinch.
3. Create the roof and floor
For the roof, Jorge used a single piece of cardboard cut to length. This creates a flat top in between the two opening flaps of the box. The floor was cut and attached to the entire bottom structure of the box to provide a clean playing surface. Or, if your box is big enough, you can simply use the bottom flaps for the floor.
4. Cut out openings

Once the main portion of the box fort has been assembled, cut out openings for the door and windows. Make sure you draw an outline first to ensure size and straightness when you’re making those final cuts.

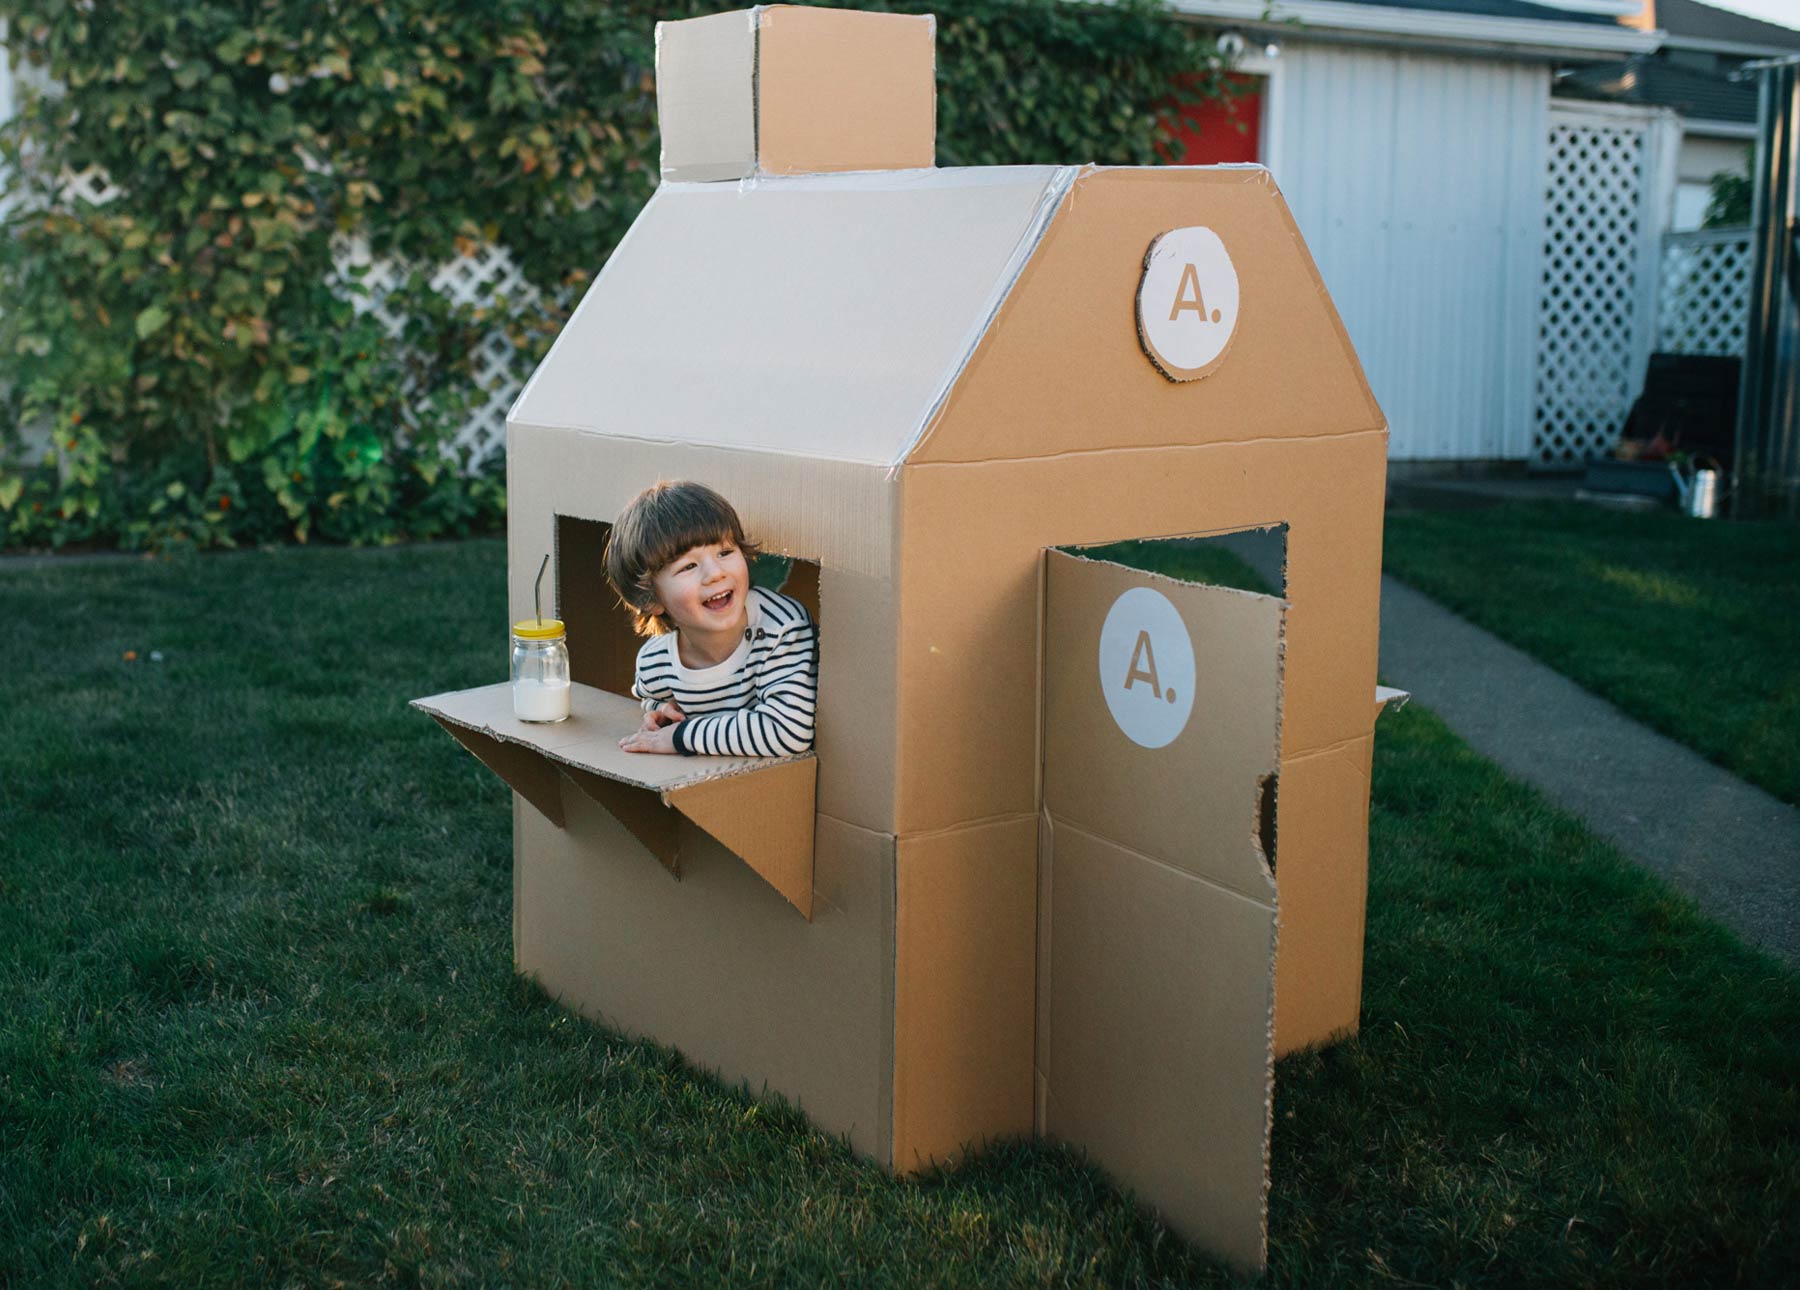
5. It’s all in the details
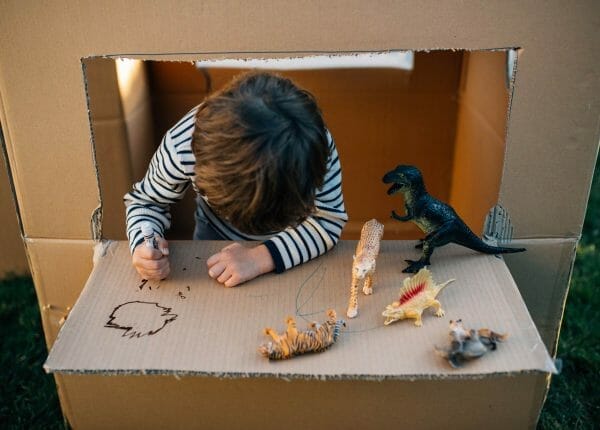 Photo: Emmy Lou Virginia
The creative couple said that they’ve always believed that leftover cardboard boxes are “simply waiting for imagination to take flight.” So flex your creative skills and add personal touches to bring your box fort to the next level.
Emmy Lou suggests, “Window ledges, for sure! Nothing is more awesome than eating a snack and leaning out your box fort while watching the world pass by. And a circle window, because circle windows are the best. Chimneys are also a key component. Where else will your dinosaurs climb on top of the world and roar? ”

This is your opportunity to get creative and over-the-top in the best way. Working drawbridge? Go for it. Monogrammed mailbox? Yes. Doorbell? Sounds great.
6. Have fun with it

Your box fort is a place to have fun. Emmy Lou and Jorge’s favorite part of designing the box fort was having Matthias be involved in not only playing with it but creating it.
“I think creating it was his favorite part. He thinks his toy tools are every bit as real as Daddy’s power tools,” Emmy Lou jokes.
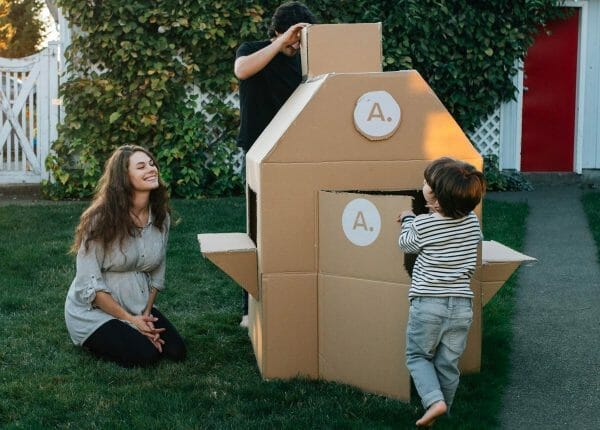 Photo: Emmy Lou Virginia
Even if it doesn’t come together perfectly, a half-done box fort is more of a place to play than no box fort at all. The goal isn’t perfection, fun and creativity is.
7. Play!

Once your box fort is assembled, it’s time to play! Emmy Lou, Jorge, and Matthias enjoyed epic dinosaur battles, creative coloring time (take note of Matthias’ artful adjustments to our logo), and having a new spot to rendezvous for snacks.
Emmy Lou says, “Jorge’s turned boxes into many different things, including a toy animal fort with a 4′ bridge spanning between a desk and coffee table. However, this was the largest box fort he’s ever attempted, and it perfectly fits a three-year-old. And if you’re willing to squish, it can also fit one dad and one very pregnant mom.”

She adds, “This is the best box strength of any structure we’ve built, by far. The fact that Matthias can climb over and stand on those window ledges without destroying the entire fort speaks for itself .”
And when you’re exhausted from playing in your cool new space, there’s always a comfortable piece of Article furniture not too far away to relax on. Ahh.

Ready for adventure time? Browse the site and once you’ve placed your order, we’ll deliver your new favorite toy shortly. Along with some furniture.
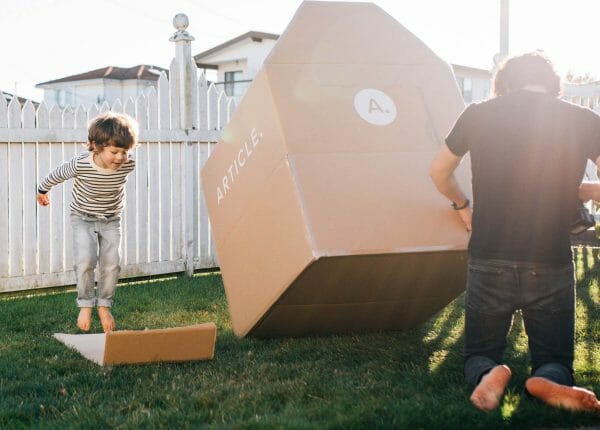
More box fort inspiration
It turns out that Jorge, Emmy Lou, and Matthias aren’t the only box fort enthusiasts. Check out some other recent architectural marvels that have caught our attention below.